The other day ee bought some custard chocolate buns home and we have been trying to imitate that buns.
But I thought it was a bit boring so I decided to change it a little-and banana custard bun was delivered :D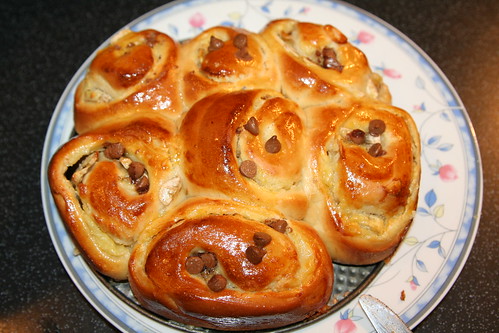
I din plan to put the chocolate chips at first but the middle one wanted chocolate buns so I decided to scatter it on top instead (:
This time I really let the buns double in size and the outcome was really worth it cause the buns were so, so soft!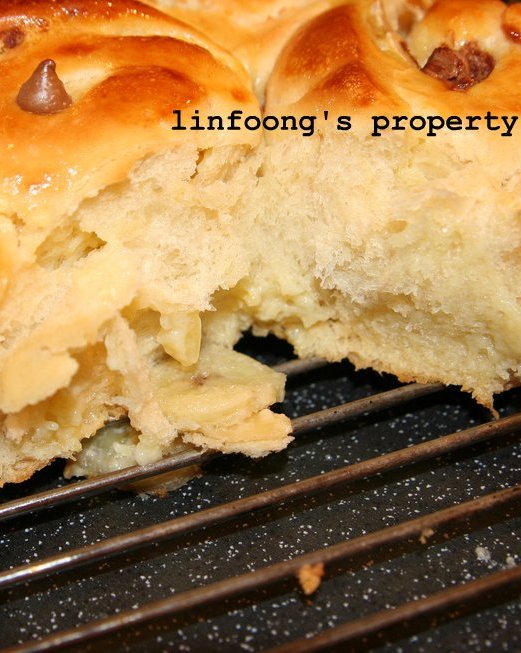
The mistake I made was using unripe bananas- I thought they would melt in the oven, appears not! T_T
And I thought there wasn't enough banana flavor-artificial flavoring are so disappointing -_-
Still room for improvement! (:
Showing posts with label bread. Show all posts
Showing posts with label bread. Show all posts
Banana custard rolls
Saturday, 12 April 2008
Coffee Twist
Saturday, 5 April 2008
When I first saw this on the Japanese website, cookpad, I just had the itchyness and big big urge to do it. In fact a kind Japanese blogger helped me to translate what wheat flour meant!
But it was all in Japanese :(
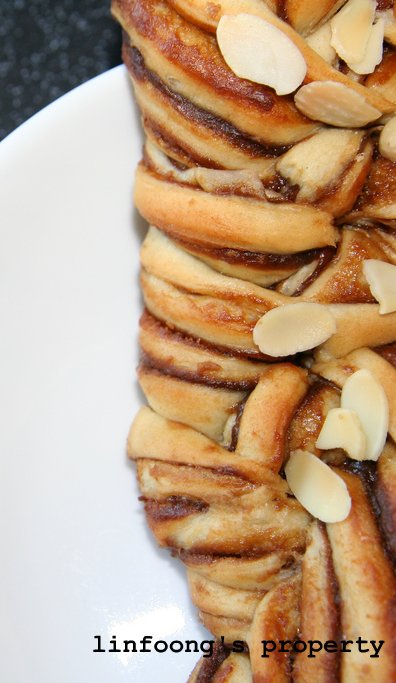
So when Florence post how to make the chocolate wassant, I was overjoyed and decided to try the coffee version instead! :D
And hence my coffee twist family was born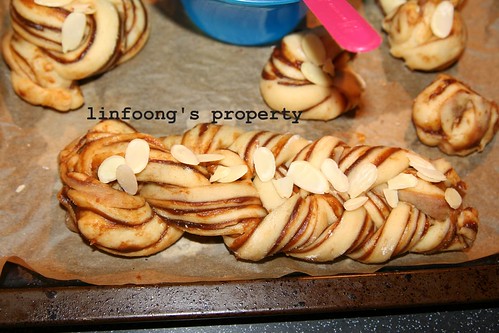
unbaked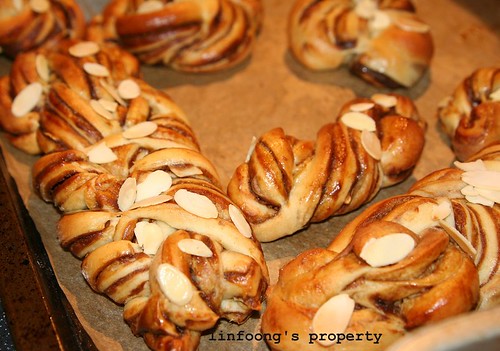
coffee twist family
Nai Wong Bun Recipe
Friday, 28 March 2008
[Ingredients]
Custard Filling.
- 10g instand custard powder.
- 50g tung min flour/wheat starch.
- 75g sugar (granulated/icing)
- 100ml milk (suggestion-use evaporated if you like the filling creamier :))
- 40g butter
- 1 egg, slightly beaten.
Methods:
- Mix the custard powder, wheat starch, and sugar in a pot.
- Heat it up while adding the milk into the mixture, stirring constantly.
- Add butter into the mixture. Remember to stir or the mixture will burnt! :)
- When the butter has melted completely, remove the pot from the fire and add in the beaten egg. Continue stirring. You should have obtained a thick sticky custard! :)
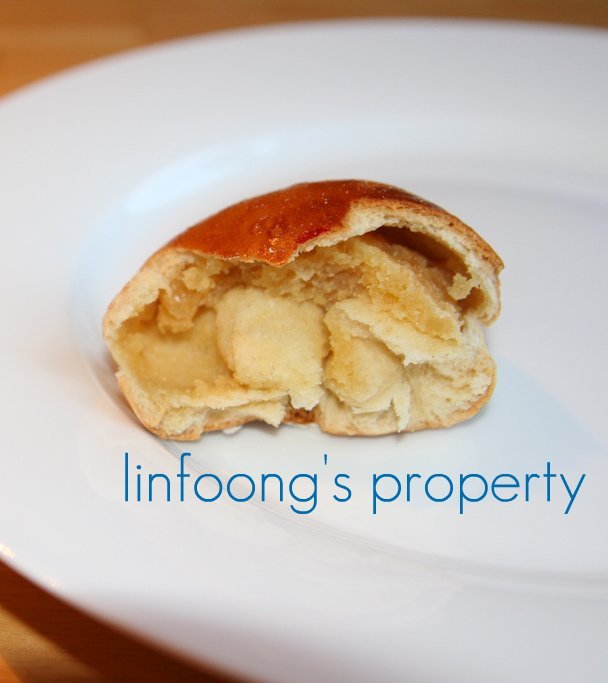
Verdict:
The custard was a little sticky. But after baking, it dried up nicely and I really liked it :). My nieces and cousin loved it too and it was gone in a night! Ah, managed to take one photograph only :(
Char Siew Bun
Wednesday, 26 March 2008
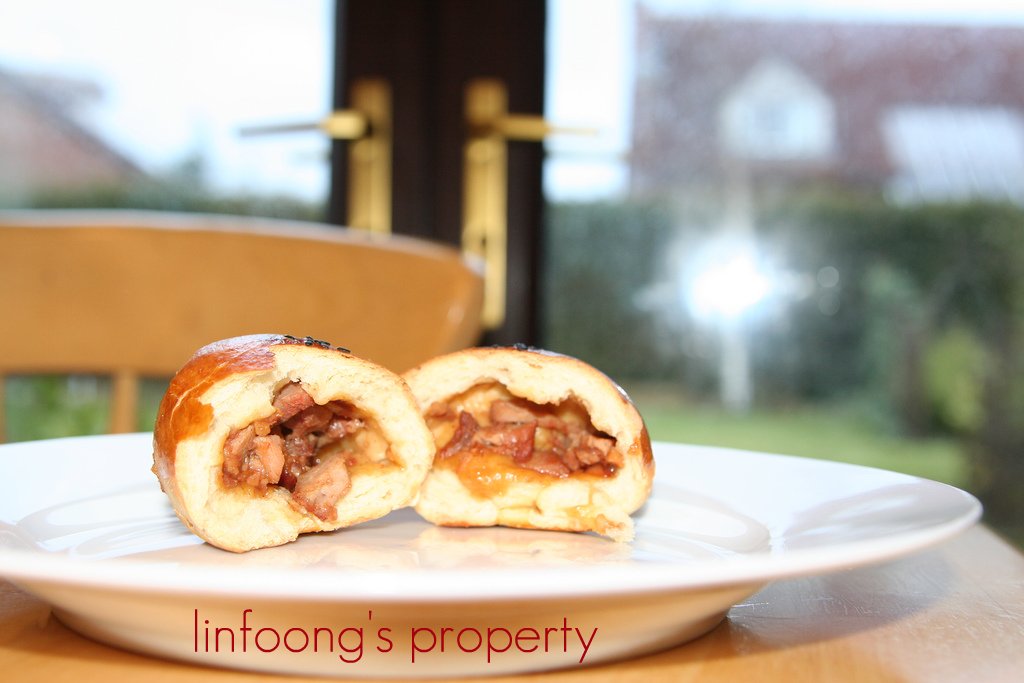
Char Siew
- 400-500g Pork shoulder/loin
- 2 TbspHoisin Sauce
- 1 1/2 TbspChar siew sauce
- 1 piece Nam yu
- 1/2 Garlic (chopped)
- 2 Tbsp Chinese wine
- 1 1/2 Tbsp Soy Sauce
- 1 Tbsp Sugar
- Mix everything together and let it marinate for minimally one hour. The longer you marinate it, it will obviously taste nice.
- Place it on an aluminum foil and cover it with another sheet of aluminium foil.
- Bake it for 5 minutes, remove from the oven, collect the sauce/juice produce. You will need this later.
- Re-bake it, with the aluminum foil covering it.
- Repeat step 3 and 4 until you obtain enough sauce. Remove aluminum foil and let oven the char siew till dried up.
- With the sauce produced from above, heat it in a pot. Add some cornstarch and potato starch flour with some water. Pour into the sauce produced.
- If you did not manage to collect sufficient sauce, add some water and add some char siew sauce into it. :)
For the bun, I just used the Water-Roux Sweet Bun Dough. Here

Mexican Buns
Sunday, 24 February 2008
Was waiting for the cream for my blackforest cake to harden so I decided to make this :D
I really like making buns these days. I really wanna master the ability to make real good buns :D
Water-Roux Sweet Bun Dough
[Ingredients]
- 375g bread flour
- 100g plain flour (or use 80g plain flour + 20g vanilla custard powder, or cornflour)
- 35g milk powder
- 75g caster sugar
- 3/4 teaspoon salt
- 1 sachet (7g or 2½ tsp) instant dry yeast
- 1 egg, lightly beaten
- 150ml (approx.) lukewarm water, adjust as necessary (I only needed 130ml for this batch)
- 40g butter, cubed
- 25g (just under 2 tbsp) bread flour
- 125ml (1/2 cup) water
[Preparation]
Water Roux :
Mix flour and water in a small saucepan. Cook over low to medium heat, stirring continuously until it reaches 65ºC. It should have thickened to a paste at this stage, that is when you stir you can see the bottom of the pan. Remove from heat, place a cling wrap (cling film) over the paste and leave until lukewarm, or room temperature, before using. (Alternatively if you don’t have a thermometer, cook as before until it starts to thicken, then continue to cook for about 1 more minute before removing from heat.) This water roux can be kept in an airtight container after cooling in the refrigerator for 1 day if not used immediately. However DO NOT USE if it turns grey in colour, that means it has gone bad.
For the Bun Dough:
1. Sift bread flour, plain flour, (custard powder,) milk powder, caster sugar and salt onto the working surface. Add instant dry yeast and mix well. Form the flour mixture into a well. Add lightly beaten egg and lukewarm water roux and mix in. Gradually add just enough lukewarm water to form into a slightly sticky, soft dough. Knead for 10 minutes until smooth and elastic. During hand kneading, the dough also needs to be thrown onto the working surface once every few minutes between kneading to improve the dough structure. (I usually just pick up the dough to about head-high and throw it down onto the working surface 10 to 20 times every few minutes between kneading.)
2. Knead in butter until incorporated. (In many cookbooks, they mentioned that the dough at this stage should be able to be pulled and stretched into membrane, but it’s hard to achieve with hand kneading. I usually stop kneading when the dough sticks to the work surface and stretches like chewing gum when pulled!) Form the dough into a round ball and let it rise until double in size in a large greased bowl, cover with cling wrap (should take about 1 hour in warm weather, longer in winter months). Optimum room temperature for this first prove is 28°C with a humidity of 75%. To test if the dough has risen properly, dip a finger into bread or plain flour and poke down into the centre of the dough as far as your finger will go and pull out again – the hole should remain if it is ready. If the dough springs back, then it is not ready, continue to prove further.
3. Punch down, knead briefly. Then divide into 16 equal portions. The easiest way is to first divide equally into 4 larger portions first, then divide each of these again into quarters each. Form each into balls and let rest for 10 minutes.
4. Shape and fill as desired to make into buns of your choice.
Obtained from here
Filling
- 100g softened butter
- 45g plain flour, sifted
- 50g milk powder, sifted
- 45g caster sugar, sifted
I was not too satisfied with the filling actually, still have room for improvement!
I think the problem was that I used milk instead of milk powder, so it was too liquidy. If i were to do again, i think i would add more flour perhaps :D (damn sound so sih lai)
The toping was done using this recipe:
Topping
- 100 g butter, softened
- 80g icing sugar, sifted
- 1 egg, lightly beaten
- coffee flavoring (available from bakery supplies shop, use 2 tablespoons instant coffee powder dissolved in 1 tablespoon of water)
- 1 pinch ground cinamon , can be added to the coffee flavouring
- 100 all purpose flour, sifted
- cream the butter with the icing sugar
- add in the egg and coffee flavoring and continue beating
- add in the flour.
You are suppose to pipe the topping around the bun in a spiral fashion. I din have a piping bag, so you know what i used?

Bwahahahaha.. Its the water cones for the water dispenser one ah..
What to do, poor student what =.=
Anyway this is what is suppose to look like after piping :)

Woot, forgot the choco chips! :D

Its so hard to pipe without proper stuff so in the end......
*
*
*
*
*
*
*
*
*
*
*
*
*
*
*
*
*
*
*

Bwahahahha..
Why am I so lazy ah.. =.=

Dont ask me what temperature and time i used to bake. There is no numbers on the dials of the oven so we just chuck the food into the oven and bake till the thing is cooked. I know lar, damn ulu right? Bwahaha..
 Mexican Bun! :D
Subscribe to:
Posts (Atom)
